


docker安装onlyOffice文档服务器
docker run -i -t -d -p 10086:80 --name=onlyoffice --restart=always --privileged=true -v /usr/local/onlyoffice/logs:/var/log/onlyoffice -v /usr/local/onlyoffice/data:/var/www/onlyoffice/Data -v /usr/local/onlyoffice/postgresql:/var/lib/postgresql -v /usr/local/onlyoffice/lib:/var/lib/onlyoffice -e JWT_ENABLED=false onlyoffice/documentserver:8.0
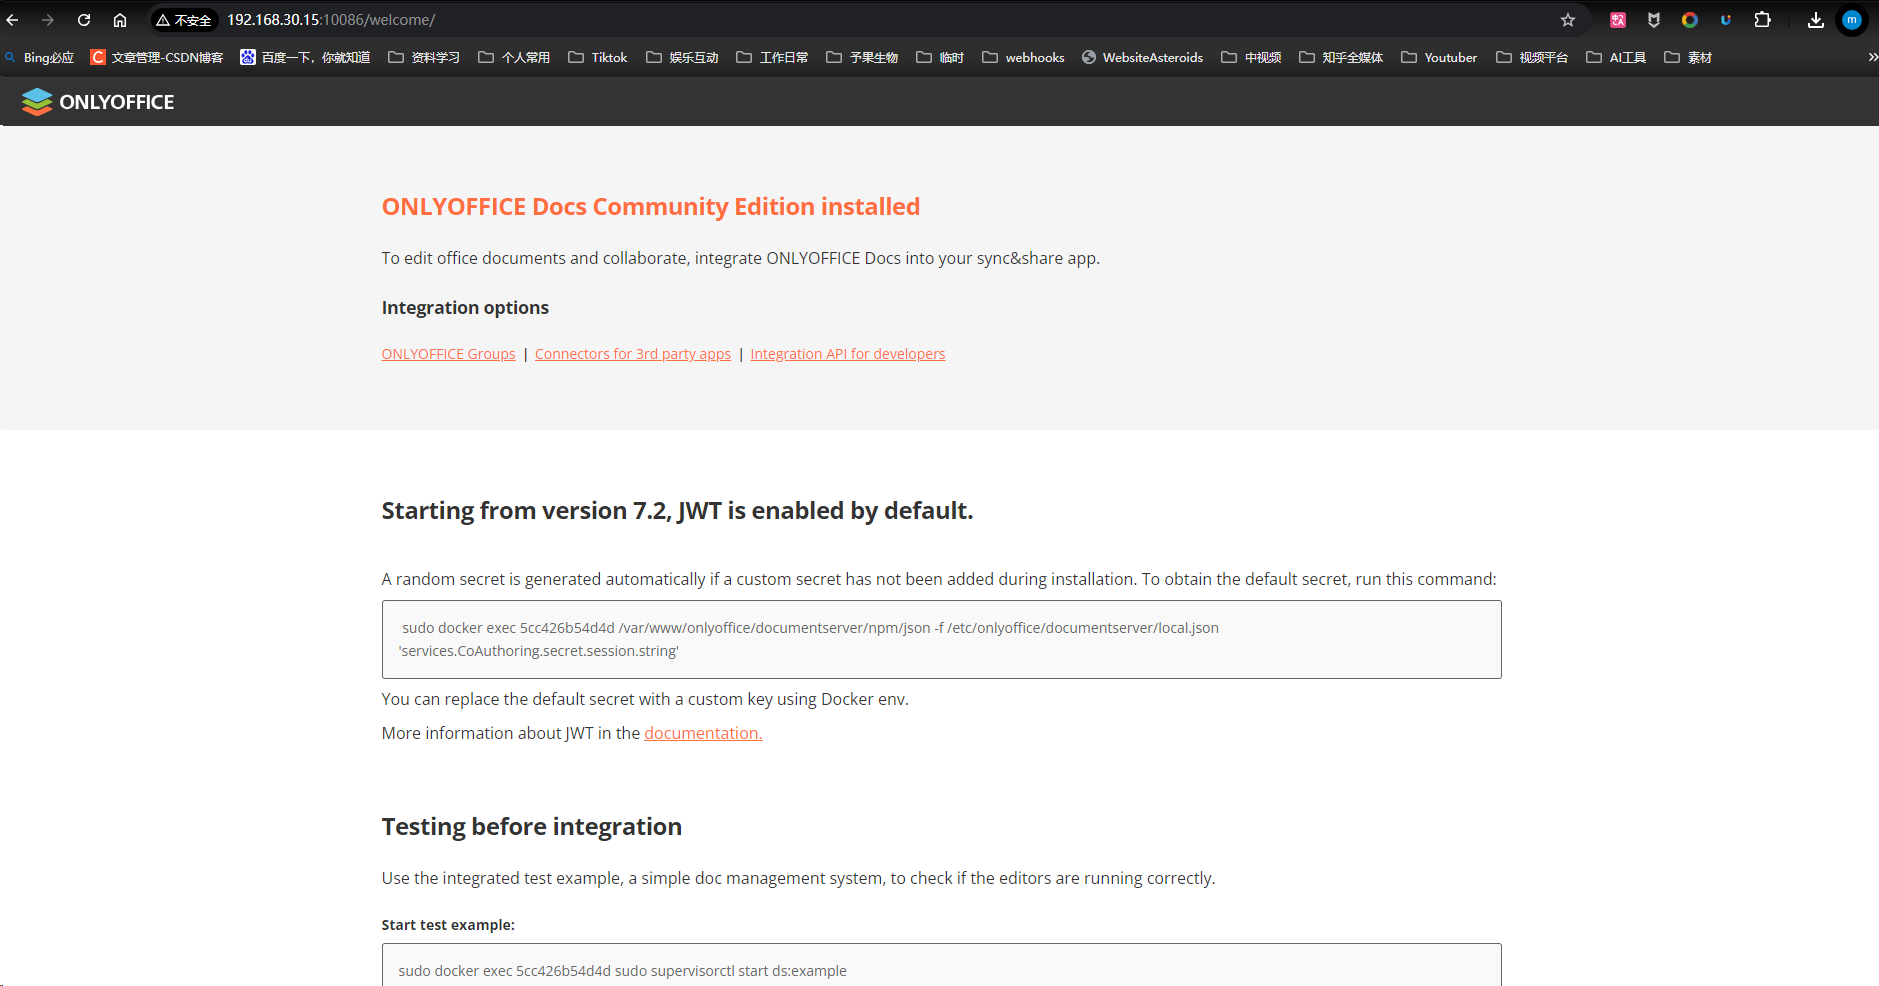
安装完成之后访问 http://ip地址:端口(这里配置的是10086)可查看代表安装成功
前端vue2集成
定义用于加载onlyOffice文档服务器js脚本的方法
loadScript.js
const loadScript = async(url, id) => new Promise((resolve, reject) => {
  try {
    if (document.getElementById(id)) {
      if (window.DocsAPI) return resolve(null)

      const intervalHandler = setInterval(() => {
        if (!window.DocsAPI) return

        clearInterval(intervalHandler)

        return resolve(null)
      }, 500)
    } else {
      const script = document.createElement('script')
      script.setAttribute('type', 'text/javascript')
      script.setAttribute('id', id)

      script.onload = resolve
      script.onerror = reject

      script.src = url
      script.async = true

      document.body.appendChild(script)
    }
  } catch (e) {
    console.error(e)
  }
})

export default loadScript
封装onlyOffice文档组件
DocumentEditor.vue
<template>
  <div :class="s.view">
    <div :id="id" />
  </div>
</template>

<script>
import loadScript from './loadScript.js'

export default {
  name: 'DocumentEditor',
  props: {
    id: {
      type: String,
      default: ''
    },
    documentServerUrl: {
      type: String,
      default: ''
    },
    config: {
      type: Object,
      default: () => {}
    },
    documentFileType: {
      type: String,
      default: ''
    },
    documentTitle: {
      type: String,
      default: ''
    },
    documentType: {
      type: String,
      default: ''
    },
    height: {
      type: String,
      default: ''
    },
    type: {
      type: String,
      default: ''
    },
    width: {
      type: String,
      default: ''
    },
    events: {
      type: Object,
      default: () => {}
    }
  },
  data() {
    return {}
  },
  watch: {
    config: {
      handler() {
        this.onChangeProps()
      },
      deep: true
    },
    document_fileType() {
      this.onChangeProps()
    },
    document_title() {
      this.onChangeProps()
    },
    documentType() {
      this.onChangeProps()
    },
    editorConfig_lang() {
      this.onChangeProps()
    },
    height() {
      this.onChangeProps()
    },
    type() {
      this.onChangeProps()
    },
    width() {
      this.onChangeProps()
    }
  },
  mounted() {
    let url = this.documentServerUrl
    if (!url.endsWith('/')) {
      url += '/'
    }
    const docApiUrl = `${url}web-apps/apps/api/documents/api.js`
    loadScript(docApiUrl, 'onlyoffice-api-script')
      .then(() => this.onLoad())
      .catch((err) => console.error(err))
  },
  beforeDestroy() {
    const id = this.id || ''
    if (window?.DocEditor?.instances[id]) {
      window.DocEditor.instances[id].destroyEditor()
      window.DocEditor.instances[id] = undefined
    }
  },
  methods: {
    onLoad() {
      try {
        const id = this.id || ''
        if (!window.DocsAPI) throw new Error('DocsAPI is not defined')
        if (window?.DocEditor?.instances[id]) {
          console.log('Skip loading. Instance already exists', id)
          return
        }
        if (!window?.DocEditor?.instances) {
          window.DocEditor = { instances: {} }
        }
        const initConfig = {
          document: {
            fileType: this.document_fileType,
            title: this.document_title
          },
          documentType: this.documentType,
          editorConfig: {
            lang: this.editorConfig_lang
          },
          events: this.events,
          height: this.height,
          type: this.type,
          width: this.width,
          ...(this.config || {})
        }
        window.DocEditor.instances[id] = window.DocsAPI.DocEditor(id, initConfig)
      } catch (err) {
        console.error(err)
        this.events_onError(err)
      }
    },
    onAppReady() {
      const id = this.id || ''
      this.events_onAppReady(window.DocEditor.instances[id])
    },
    onChangeProps() {
      const id = this.id || ''
      if (window?.DocEditor?.instances[id]) {
        window.DocEditor.instances[id].destroyEditor()
        window.DocEditor.instances[id] = undefined

        console.log('Important props have been changed. Load new Editor.')
        this.onLoad()
      }
    }
  }
}
</script>

<style lang="scss" module="s">
.view {
  width: 100%;
  height: 100%;
  iframe {
    width: 100%;
    height: 47.6rem;
  }
}
</style>
测试Excel示例
<template>
  <DocumentEditor
    :id="id"
    :document-server-url="documentServerUrl"
    :config="config"
    :document-file-type="config.document.documentFileType"
    :document-title="config.document.title"
    :document-type="config.documentType"
    :type="type"
    :events="config.events"
  />
</template>
<script>
import DocumentEditor from "@/components/onlyOffice/DocumentEditor.vue"

export default {
  name: "DocEditor",
  components: {
    DocumentEditor
  },
  data() {
    return {
      // 给当前文档编辑器分配一个唯一的 ID,用于初始化和管理多个实例时进行区分
      id: 'excelEditor',
      // 指定 OnlyOffice 文档服务器的 URL,该 URL 用于加载编辑器的 API 和文档服务
      documentServerUrl: 'http://192.168.30.15:10086/',
      // 编辑器详细参数配置,参考 https://api.onlyoffice.com/zh/editors/advanced
      config: {
        // 文档类型,可以是 word、cell、slide、pdf
        documentType: 'cell',
        // 文档相关配置
        document: {
          // 文档的标题,在编辑器中显示
          title: 'CRM2.0项目问题追踪表',
          // 文件类型,例如 docx、xlsx、pptx、pdf
          documentFileType: 'xlsx',
          // onlyoffice用key做文件缓存索引,推荐每次都随机生成一下,不然总是读取缓存,另外key中建议携带唯一识别文件名相关信息,在回调接口中用得到
          key: 'e932e7bb1e4d44xxxxxx1xx8sxx18',
          // url: 'http://www.angyum.com/upload/CRM2.0项目问题追踪表.xlsx',
          url: 'http://192.168.30.7:9000/eladmin/test.xlsx',
          permissions: {
            edit: true
          }
        },
        // 编辑器界面相关配置
        editorConfig: {
          // 编辑器的语言设置
          lang: 'zh-CN',
          // view为只能浏览  edit为编辑
          mode: "edit",
          user: {
            "id": "1",
            name: 'admin'
          },
          // 编辑器其他配置
          customization: {
            // 自动保存可以关闭,常规ctrl+s更好用
            autosave: false,
            // 控制工具栏是否使用紧凑模式。紧凑模式下,工具栏会占用较少的空间,适合屏幕较小的设备或需要最大化文档区域的场景
            compactToolbar: false,
            // 启用强制保存功能。设置为 true 后,编辑器会强制保存文档,即使文档没有被修改。通常用于确保文档的状态始终与服务器保持一致
            forcesave: false,
            // 隐藏工具栏中的标签页,使工具栏不显示多页选项。适合需要简化工具栏布局的场景
            toolbarNoTabs: true,
            // 是否在编辑器中显示帮助菜单
            help: false,
            // 启用紧凑型头部布局。设置为 true 会使编辑器头部占用更少的空间,从而为文档区域提供更多的可见空间
            compactHeader: false,
            // 控制是否隐藏右侧菜单栏。设置为 true 时,将不会显示右侧的菜单栏,适用于需要简化界面布局的场景
            hideRightMenu: true,
            // 用于自定义编辑器中的公司或产品 logo。你可以设置 logo 的图片、点击 logo 后跳转的 URL,以及是否显示 logo
            logo: {
              image: "xxxx",
              imageDark: "xxx",
              url: "xxx",
              visible: false
            }
          }
        },
        events: {
          // 当应用加载完毕时触发的回调函数
          onAppReady: this.onAppReady,
          // 当文档状态发生变化(例如保存状态)时触发的回调函数
          onDocumentStateChange: this.onDocumentStateChange,
          // 当文档的元数据发生变化时触发的回调函数
          onMetaChange: this.onMetaChange,
          // 当文档准备好可以编辑时触发的回调函数
          onDocumentReady: this.onDocumentReady,
          // 当信息被传递到编辑器中时触发的回调函数
          onInfo: this.onInfo,
          // 当警告被传递到编辑器中时触发的回调函数
          onWarning: this.onWarning,
          // 当编辑器发生错误时触发的回调函数
          onError: this.onError,
          // 当请求共享设置时触发的回调函数
          onRequestSharingSettings: this.onRequestSharingSettings,
          // 当请求重命名时触发的回调函数
          onRequestRename: this.onRequestRename,
          // 当请求生成动作链接时触发的回调
          onMakeActionLink: this.onMakeActionLink,
          // 当请求插入图片时触发的回调函数
          onRequestInsertImage: this.onRequestInsertImage,
          // 当请求另存为时触发的回调函数
          onRequestSaveAs: this.onRequestSaveAs
        }
      },
      // 编辑器高度的设置
      height: '100%',
      // 编辑器宽度的设置
      width: '100%',
      // 编辑器类型,可以是 desktop 或 mobile
      type: 'desktop'
    }
  },
  methods: {
    /**
     * 当应用加载完毕时触发的回调函数
     */
    onAppReady() {
      console.log('onAppReady')
    },
    /**
     * 修改文档时调用的函数
     *    使用以下参数调用它:{"data": true} --适用于当前用户正在编辑文档时。
     *    使用以下参数调用它:{"data": false} --适用于当前用户的更改发送到 文档编辑服务时
     * @param event
     */
    onDocumentStateChange(event) {
      if (event.data) {
        console.log("The document changed")
      } else {
        console.log("Changes are collected on document editing service")
      }
    },
    /**
     * 通过 meta 命令更改文档的元信息时调用的函数。
     *    文档的名称在 data.title 参数中发送。 收藏 图标高亮状态在 data.favorite 参数中发送。
     *    当用户点击 收藏 图标时, 调用setFavorite方法更新 收藏 图标高亮状态信息。 如果未声明该方法,则收藏 图标不会更改
     * @param event
     */
    onMetaChange(event) {
      var title = event.data.title
      console.log(title)
      var favorite = event.data.favorite
      console.log(favorite)
    },
    /**
     * 当文档加载到文档编辑器时调用的函数
     */
    onDocumentReady() {
      console.log("Document is loaded")
    },
    /**
     * 应用程序打开文件时调用的函数。
     *    模式在 data.mode 参数中发送。 可以 查看 或 编辑
     * @param event
     */
    onInfo(event) {
      console.log("ONLYOFFICE Document Editor is opened in mode " + event.data.mode)
    },
    /**
     * 发生警告时调用的函数。 警告消息在 data 参数中发送
     *    错误代码参考: https://github.com/ONLYOFFICE/sdkjs/blob/master/common/errorCodes.js
     * @param event
     */
    onWarning(event) {
      console.log("ONLYOFFICE Document Editor reports a warning: code " + event.data.warningCode +
        ", description " + event.data.warningDescription)
    },
    /**
     * 发生错误或其他特定事件时调用的函数。 错误消息在 data 参数中发送
     *    错误代码参考: https://github.com/ONLYOFFICE/sdkjs/blob/master/common/errorCodes.js
     * @param event
     */
    onError(event) {
      console.log("ONLYOFFICE Document Editor reports an error: code " +
        event.data.errorCode + ", description " + event.data.errorDescription)
    },
    /**
     * 当用户试图通过单击 更改访问权限 按钮来管理文档访问权限时调用的函数。
     *
     * 当访问权限发生变化时,您必须调用 setSharingSettings 方法来更新有关允许与其他用户共享文档的设置的 信息。 如果未声明该方法,则不会显示 更改访问权限 按钮。
     */
    onRequestSharingSettings() {
      window.DocEditor.instances[this.id].setSharingSettings({
        "sharingSettings": [
          {
            "permissions": "Full Access",
            "user": "John Smith"
          },
          {
            "isLink": true,
            "permissions": "Read Only",
            "user": "External link"
          }
        ]
      })
    },
    /**
     * 当用户试图通过单击 重命名... 按钮重命名文件时调用的函数。
     * @param event
     */
    onRequestRename(event) {
      var title = event.data
      console.log(title)
    },
    /**
     * 当用户试图获取打开包含书签的文档的链接时调用的函数,滚动到书签位置。
     *    要设置书签链接,您必须调用 setActionLink 方法。 书签数据在 data 参数中接收,然后必须在配置中用作 editorConfig.actionLink 参数的值。
     *    如果未声明该方法,则不会显示 获取链接 按钮
     * @param event
     */
    onMakeActionLink(event) {
      // var ACTION_DATA = event.data
      // // ...
      // // var link = GENERATE_LINK(ACTION_DATA)
      // docEditor.setActionLink(link)
    },
    /**
     * 当用户尝试通过单击 存储中的图像 按钮插入图像时调用的函数。
     *  图像插入的类型在参数 data.c中指定。
     *  要将图像插入文件,您必须使用指定的命令调用 insertImage 方法。 如果未声明该方法,则不会显示 Image from Storage 按钮
     * @param event
     */
    onRequestInsertImage(event) {
      window.DocEditor.instances[this.id].insertImage({
        "c": event.data.c,
        "images": [
          {
            "fileType": "png",
            "url": "https://example.com/url-to-example-image1.png"
          },
          {
            "fileType": "png",
            "url": "https://example.com/url-to-example-image2.png"
          }
          // ...
        ],
        "token": "eyJhbGciOiJIUzI1NiIsInR5cCI6IkpXVCJ9.eyJpbWFnZXMiOlt7ImZpbGVUeXBlIjoicG5nIiwidXJsIjoiaHR0cHM6Ly9leGFtcGxlLmNvbS91cmwtdG8tZXhhbXBsZS1pbWFnZTEucG5nIn0seyJmaWxlVHlwZSI6InBuZyIsInVybCI6Imh0dHBzOi8vZXhhbXBsZS5jb20vdXJsLXRvLWV4YW1wbGUtaW1hZ2UyLnBuZyJ9XX0.ly1O8-6u4Y7WJlgp9O-bJMeffHe0GtaXzyvY2UUFJTg"
      })
    },
    /**
     * 当用户试图通过单击 另存为... 按钮来保存文件时调用的函数。
     *    文档的标题、其类型和要下载的文档的绝对 URL 在 data 参数中发送。 如果未声明该方法,将不会显示 另存为... 按钮
     * @param event
     */
    onRequestSaveAs(event) {
      var fileType = event.data.fileType
      console.log(fileType)
      var title = event.data.title
      console.log(title)
      var url = event.data.url
      console.log(url)
    }
  }
}
</script>
这里面的参数配置有很多,具体参数参考高级参数
附
ONLYOFFICE8.0部署集成(vue3+java)并配置存储为minio
vue基于onlyoffice实现DOC、DOCX、XLSX、PPT、PDF文档编辑预览
后端回调接口实现(Java)
@PostMapping("recordTemplateCallback")
    public ResponseEntity<Object> recordTemplateCallback(@RequestBody JSONObject reqJson) throws IOException {
        log.info("模板维护修改模板保存OnlyOfiice回调: {}", reqJson.toJSONString());
        // 文件key,格式为: 主键ID&时间戳
        String fileKey = reqJson.getString("key");
        // 文件url,注意是在onlyOffice的服务上的文件url
        String fileUrl = reqJson.getString("url");
        if (ObjectUtil.isNotEmpty(fileUrl)) {
            URL url = new URL(fileUrl);
            InputStream inputStream;

            // HTTPS 连接设置
            if ("https".equalsIgnoreCase(url.getProtocol())) {
                HttpsURLConnection connection = (HttpsURLConnection) url.openConnection();
                connection.setSSLSocketFactory(createTrustAllSSLSocketFactory());
                connection.setHostnameVerifier((hostname, session) -> true);
                inputStream = connection.getInputStream();
            } else {
                // HTTP 连接
                URLConnection connection = url.openConnection();
                inputStream = connection.getInputStream();
            }

            // 缓存文件流
            ByteArrayOutputStream baos = new ByteArrayOutputStream();
            byte[] buffer = new byte[1024];
            int length;
            while ((length = inputStream.read(buffer)) != -1) {
                baos.write(buffer, 0, length);
            }
            inputStream.close();

            // 将文件上传到 MinIO
            byte[] fileBytes = baos.toByteArray();
            ByteArrayInputStream fileInputStream = new ByteArrayInputStream(fileBytes);

            // 查询模板
            List<Map<String, Object>> templateList = jdbcTemplate.queryForList("SELECT * FROM RECORD_TEMPLATE WHERE ID = ?", fileKey.split("&")[0]);
            if (!templateList.isEmpty()) {
                String templateFile = SysBasic.toTranStringByObject(templateList.get(0).get("TEMPLATE_FILE"));
                minIOUtil.upload(fileInputStream, "/report/template/", templateFile, "application/msexcel");
            }

            fileInputStream.close();
        }

        JSONObject returnObj = new JSONObject();
        returnObj.put("error", 0);
        return ResponseEntity.ok(returnObj);
    }
onlyOffice请求回调参数示例
{
    "actions": [
        {
            "type": 2,
            "userid": "35ea3586-1371-422e-9b01-d33edd0d81a5"
        }
    ],
    "changesurl": "https://192.168.30.32:10086/cache/files/data/a384f6fa-3c83-47db-8da7-fc9fdc961701&1731310408101_1628/changes.zip/changes.zip?md5=xXZ9H6lsoqcvCAS5npOquQ&expires=1731311406&WOPISrc=a384f6fa-3c83-47db-8da7-fc9fdc961701%261731310408101&filename=changes.zip",
    "filetype": "xlsx",
    "forcesavetype": 1,
    "history": {
        "serverVersion": "8.0.1",
        "changes": [
            {
                "created": "2024-11-11 07:35:04",
                "user": {
                    "id": "35ea3586-1371-422e-9b01-d33edd0d81a5",
                    "name": "超级管理员"
                }
            }
        ]
    },
    "key": "a384f6fa-3c83-47db-8da7-fc9fdc961701&1731310408101",
    "lastsave": "2024-11-11T07:35:04.000Z",
    "status": 6,
    "url": "https://192.168.30.32:10086/cache/files/data/a384f6fa-3c83-47db-8da7-fc9fdc961701&1731310408101_1628/output.xlsx/output.xlsx?md5=9DDD0xl0ymPJxBR2M_76Tg&expires=1731311406&WOPISrc=a384f6fa-3c83-47db-8da7-fc9fdc961701%261731310408101&filename=output.xlsx",
    "users": [
        "35ea3586-1371-422e-9b01-d33edd0d81a5"
    ]
}
纯HTML前端实现
head中引入js和css
<!-- 引入ONLYOFFICE Docs的JavaScript文件 -->
    <script src="http://192.168.30.15:10086/web-apps/apps/api/documents/api.js"></script>

    <!-- 引入ONLYOFFICE Docs的CSS文件 -->
    <link rel="stylesheet" href="http://192.168.30.15:10086/web-apps/apps/api/documents/css/fonts.css" />
    <link rel="stylesheet" href="http://192.168.30.15:10086/web-apps/apps/api/documents/css/onlyoffice.css" />
添加一个div用于展示
<div id="excelEditorfunction-product-dictionary-recordTemplate-add-edit"></div>
初始化编辑器
// 初始化ONLYOFFICE Docs编辑器
var editor = new DocsAPI.DocEditor("excelEditorfunction-product-dictionary-recordTemplate-add-edit", config);
第一个参数是用于展示的div的id,第二个参数是编辑器配置,可以参考下面的示例配置
var config = {
            // 文档类型,可以是 word、cell、slide、pdf
            "documentType": "cell",
            // 编辑器宽度
            "width": "100%",
            // 编辑器高度
            "height": "100%",
            // 编辑器类型,可以是 desktop 或 mobile
            "type": 'desktop',
            // 文档相关配置
            "document": {
                // 文档标题
                "title": templateName,
                // 文件类型,例如 docx、xlsx、pptx、pdf
                "fileType": "xlsx",
                // onlyoffice用key做文件缓存索引,推荐每次都随机生成一下,不然总是读取缓存,另外key中建议携带唯一识别文件名相关信息,在回调接口中用得到
                "key": ID + "&" + new Date().getTime(),
                // http://localhost:8080/system/config/download/fileDownload?configPath=&fileNames=test.xlsx
                "url": fileUrl, // 文档的实际存储地址
            },
            // 编辑器界面相关配置
            "editorConfig": {
                // 编辑器的语言设置
                "lang": "zh-CN",
                // view为只能浏览  edit为编辑
                "mode": "edit",
                // 非常重要的配置项,用于在文档编辑过程中或编辑完成时,通知服务器进行保存操作或其他处理,OnlyOffice 文档服务会将文档的相关信息(如修改的内容、状态等)通过 HTTP POST 请求发送到该 URL
                // 如果地址不可连接,会导致打开文档失败,接口实现参考: https://legacy-api.onlyoffice.com/zh/editors/callback
                "callbackUrl": callbackUrl,
                "user": {
                    "id": user.ID,
                    "name": user.PSL_NAME
                },
                // 编辑器其他配置
                "customization": {
                    // 自动保存可以关闭,常规ctrl+s更好用
                    "autosave": true,
                    // 控制工具栏是否使用紧凑模式。紧凑模式下,工具栏会占用较少的空间,适合屏幕较小的设备或需要最大化文档区域的场景
                    "compactToolbar": false,
                    // 启用强制保存功能。false为onlyoffice触发保存。true通常用于确保文档的状态始终与服务器保持一致,当ctrl+s时会出发calbackurl回调
                    "forcesave": true,
                    // 隐藏工具栏中的标签页,使工具栏不显示多页选项。适合需要简化工具栏布局的场景
                    "toolbarNoTabs": true,
                    // 是否在编辑器中显示帮助菜单
                    "help": true,
                    // 启用紧凑型头部布局。设置为 true 会使编辑器头部占用更少的空间,从而为文档区域提供更多的可见空间
                    "compactHeader": false,
                    // 控制是否隐藏右侧菜单栏。设置为 true 时,将不会显示右侧的菜单栏,适用于需要简化界面布局的场景
                    "hideRightMenu": true,
                }
            },
            // 对文档进行某些操作时调用的特殊事件列表,这些操作包括加载、修改等
            "events": {
                // 当应用加载完毕时触发的回调函数
                "onAppReady": () => {},
                // 当文档状态发生变化(例如保存状态)时触发的回调函数
                "onDocumentStateChange": () => {},
                // 当文档的元数据发生变化时触发的回调函数
                "onMetaChange": () => {},
                // 当文档准备好可以编辑时触发的回调函数
                "onDocumentReady": () => {},
                // 当信息被传递到编辑器中时触发的回调函数
                "onInfo": () => {},
                // 当警告被传递到编辑器中时触发的回调函数
                "onWarning": () => {},
                // 当编辑器发生错误时触发的回调函数
                "onError": () => {},
                // 当请求共享设置时触发的回调函数
                "onRequestSharingSettings": () => {},
                // 当请求重命名时触发的回调函数
                "onRequestRename": () => {},
                // 当请求生成动作链接时触发的回调
                "onMakeActionLink": () => {},
                // 当请求插入图片时触发的回调函数
                "onRequestInsertImage": () => {},
                // 当请求另存为时触发的回调函数
                "onRequestSaveAs": () => {}
            }
        };
提示文件下载失败
只要进入onlyOffice的docker容器中,修改文件 /etc/onlyoffice/documentserver/default.json,找到
"request-filtering-agent" : {
        "allowPrivateIPAddress": true,
        "allowMetaIPAddress": true
},
将上面两个值改为true即可
如何开启https
由于我的onlyOffice是通过docker安装的,所以开启https只需要在 /usr/local/onlyoffice/data目录下新增一个certs目录,然后往里面放入证书文件(如果有),也可以通过下面的命令生成证书(在certs下操作)
# 生成RSA密钥对,长度为2048位,私钥保存到onlyoffice.key文件中
openssl genrsa -out onlyoffice.key 2048
# 生成证书签名请求(CSR),使用onlyoffice.key作为私钥,生成的CSR保存到onlyoffice.csr文件中
openssl req -new -key onlyoffice.key -out onlyoffice.csr
# 自签名生成证书,有效期为365天,使用onlyoffice.csr作为CSR文件,onlyoffice.key作为私钥,生成的证书保存到onlyoffice.crt文件中
openssl x509 -req -days 365 -in onlyoffice.csr -signkey onlyoffice.key -out onlyoffice.crt
# 生成Diffie-Hellman参数,长度为2048位,保存到dhparam.pem文件中
openssl dhparam -out dhparam.pem 2048
最后重启onlyOffice的docker服务即可。
注意如果是不受信任的SSL证书,那么后端回调接口在读取onlyOffice服务上的临时文件时会报错 avax.net.ssl.SSLHandshakeException: sun.security.validator.ValidatorException: PKIX path building failed: sun.security.provider.certpath.SunCertPathBuilderException: unable to find valid certification path to requested target,可以使用受信任的证书,也可以临时跳过证书的验证,参考上面 后端回调接口实现(Java)。
评论区